How To Remove The GM Radiator Core Support
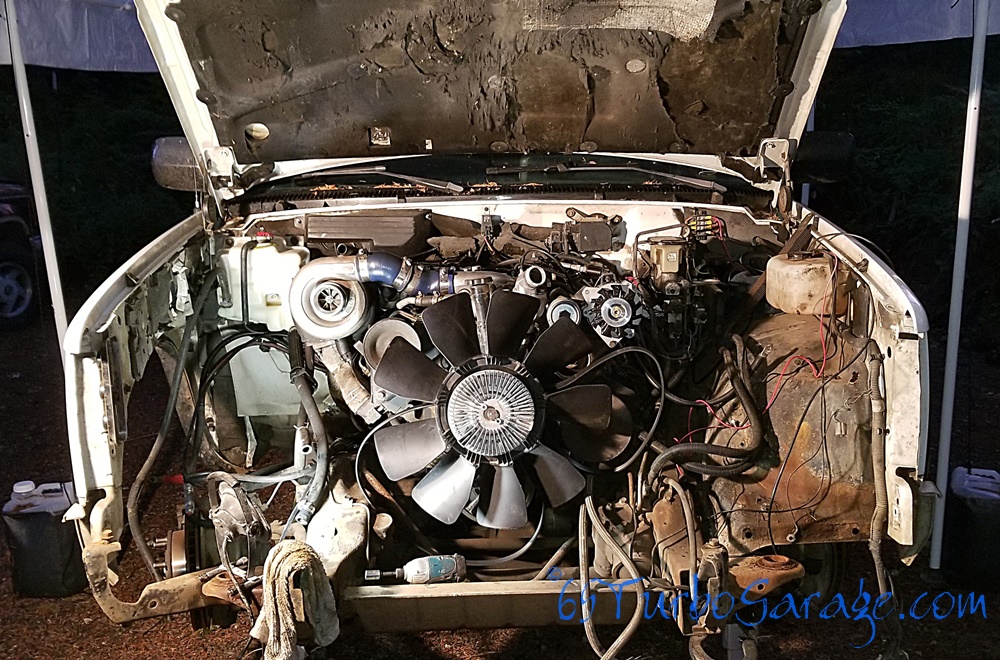
To be clear, to pull your GM 6.5, you do not HAVE to remove the radiator core support. But I've done it both ways, and having that extra room and maneuverability makes the job so much nicer.
So, when it came time to pull my motor for the Great Optimizer Crackfest, I wanted to make it as easy as I could and decided to go through the extra effort. Boy, I'm glad I did.
There's a few steps but it's nothing too difficult at all...
Tools
|
Material |
TIP!
Click on the first picture for a quick visual step-by-step guide
To get to the support, we need to remove the grill and wire loom for the headlights and blinkers.
- Since we're dealing with the electrical, start by disconnecting your batteries and pulling them out so they are not in the way
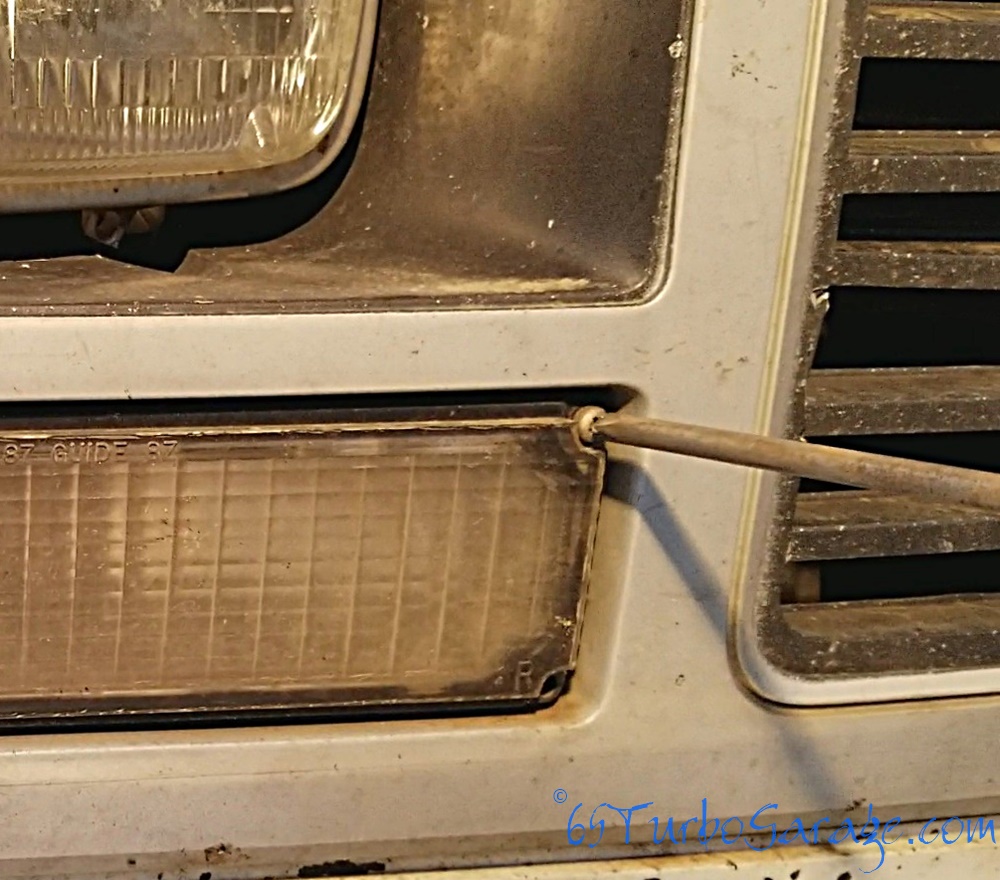
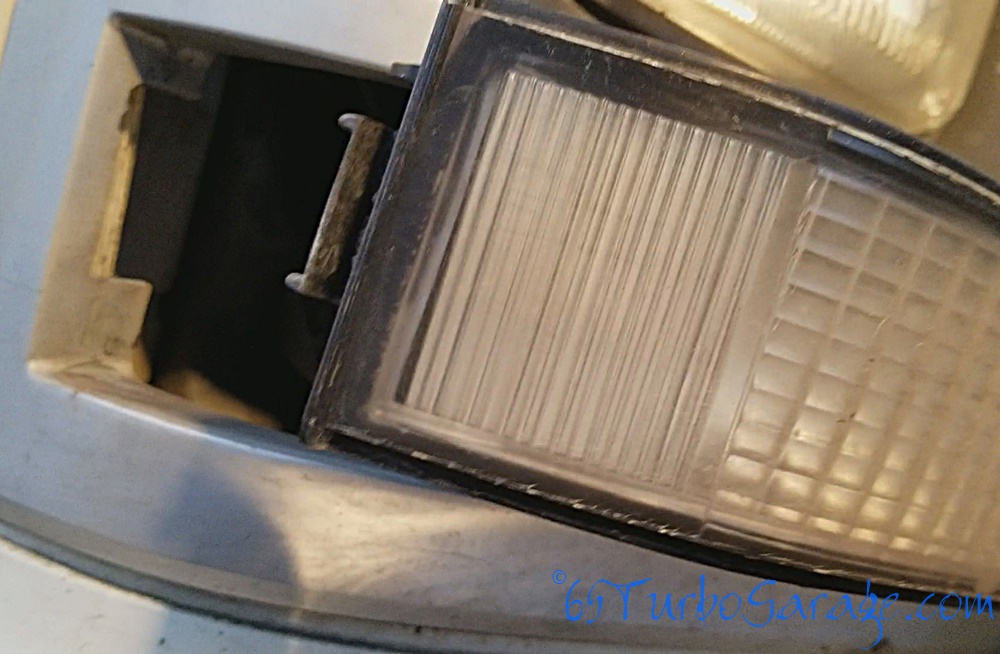
- Now we can go ahead and remove your blinkers. It's just two screws on the inner side of the blinker and the other side is just a clip that slides into a slot
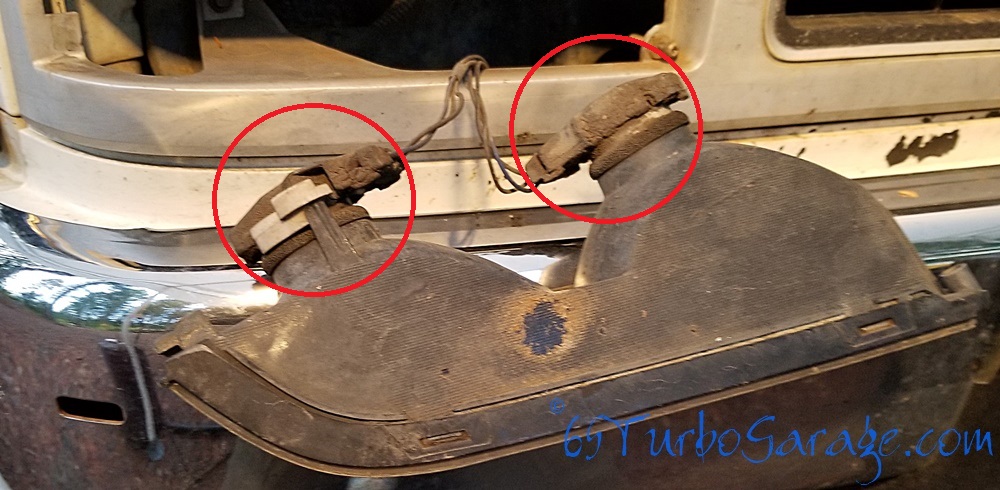
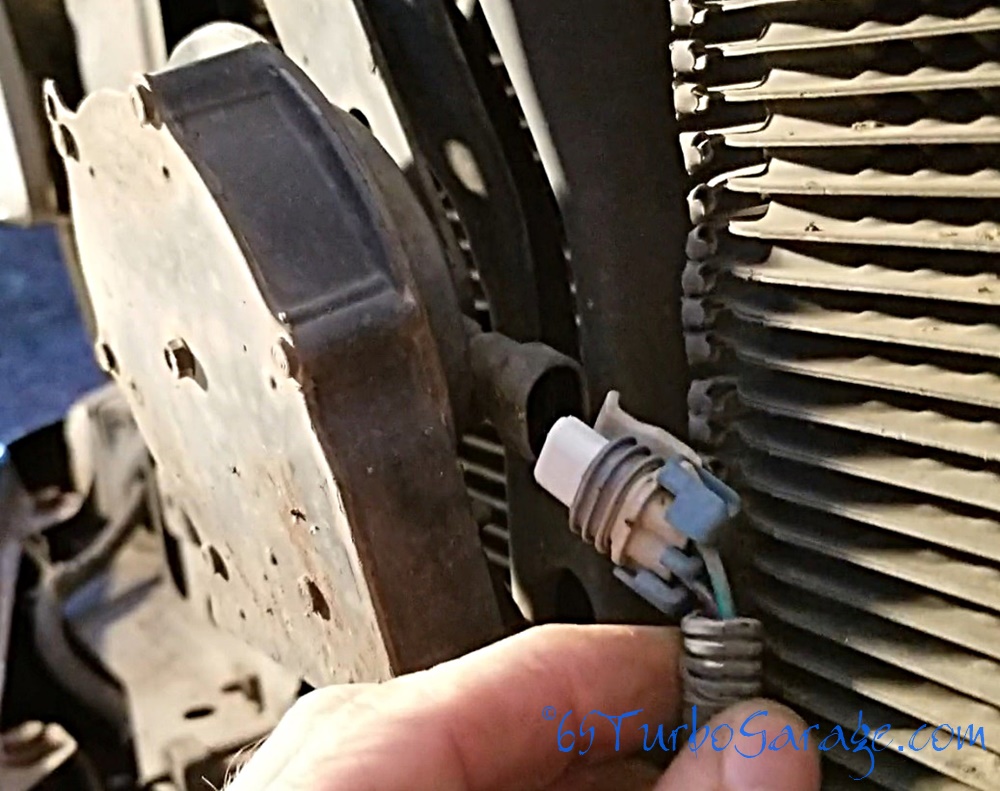
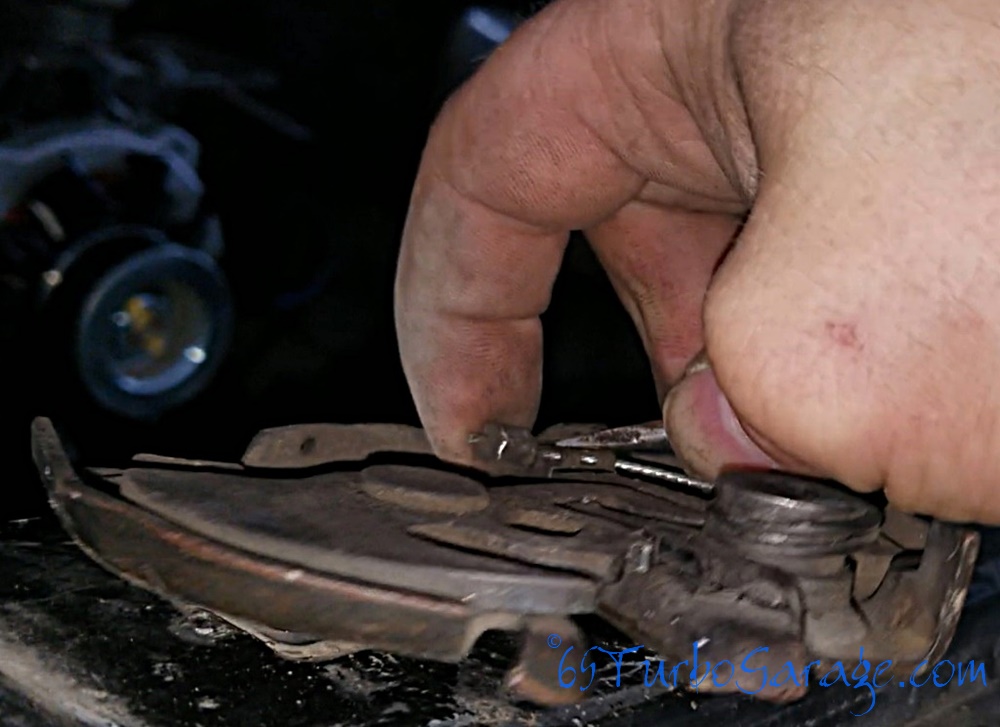
- Squeeze, twist and pull the bulb sockets free
- Then we take off the whole grill assembly by removing the 8 screws. Four on the top, three on the bottom, and one in the center of the grill
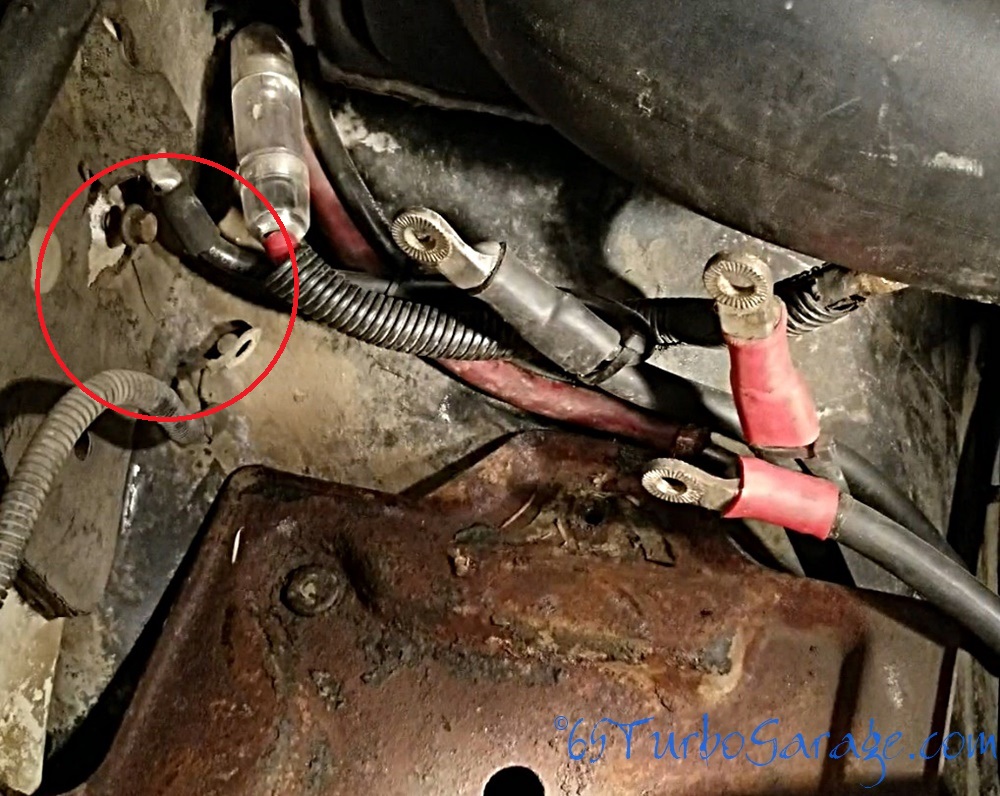
- Now for the loom, start with the ground at the passenger inner fender just behind the battery
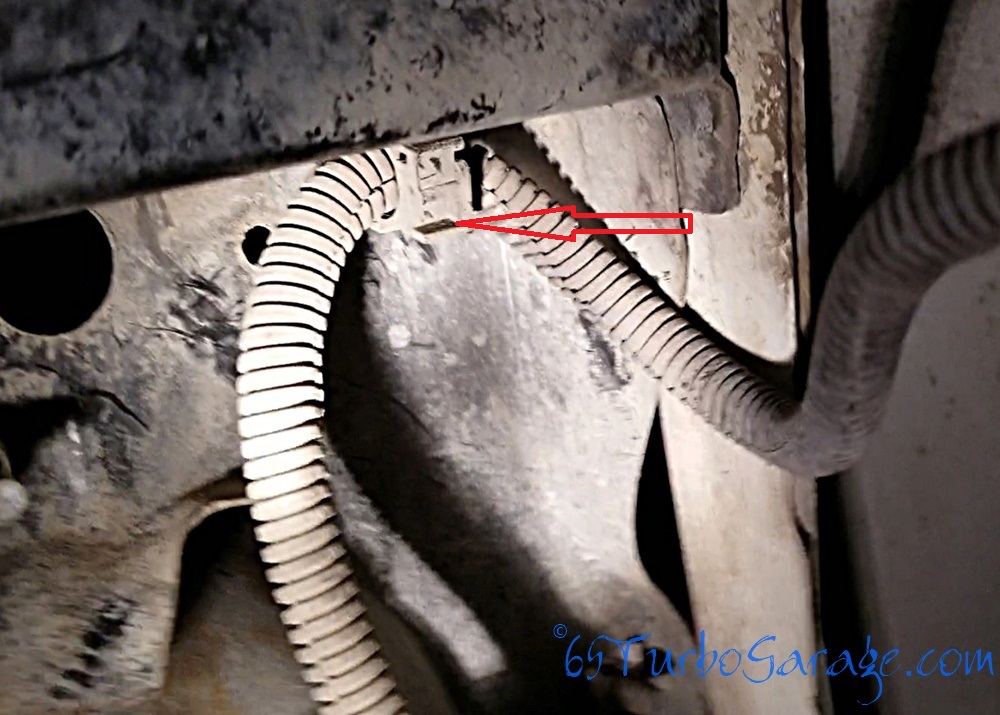
- Follow the loom that the ground is in up to the first clip above the back of the headlight. Poke the end of a flat blade screwdriver into the slot on the clip and twist to release it.
- Then, after unplugging the passenger side headlight, you'll see another clip holding the loom just to the right of it. Using the screwdriver, release that clip the same way.
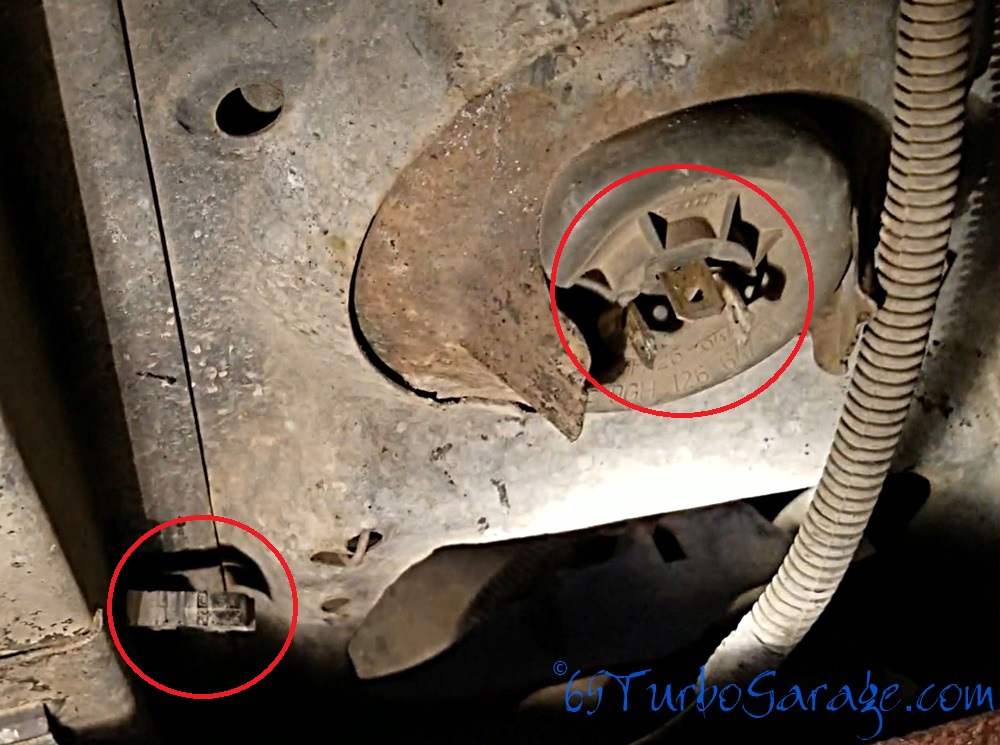
- One other clip holding the loom below the headlight is harder to get to so just leave it on the loom and release the mount to the clip itself from the front and push it free
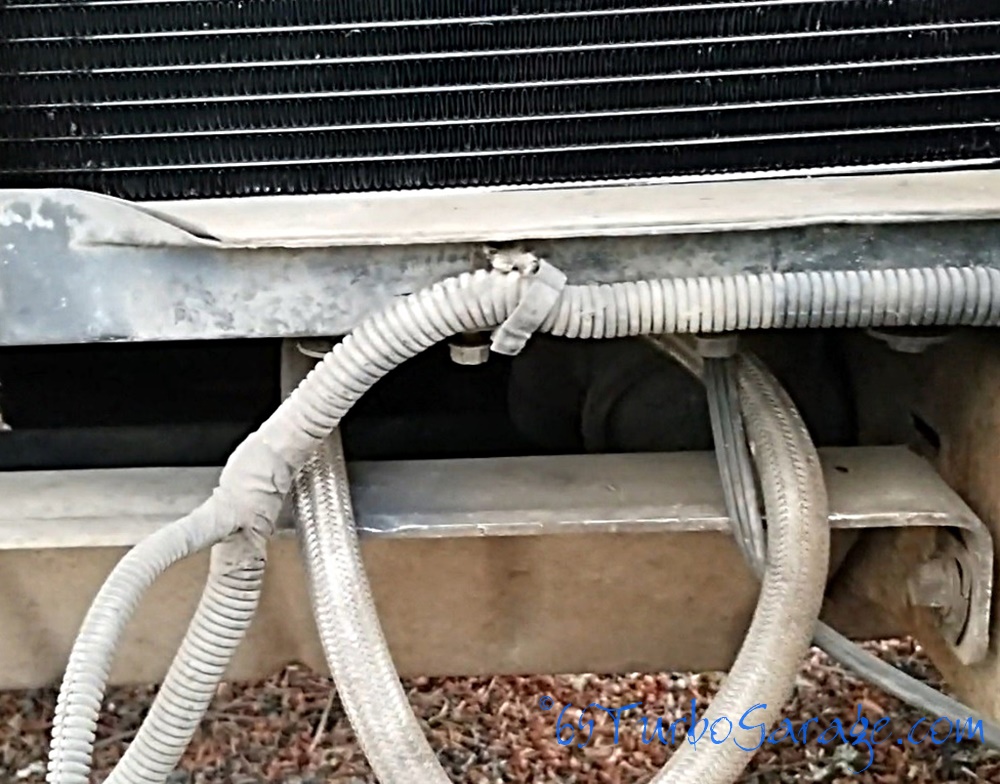
- Following the loom along the bottom, release the two clips there
- The horn is part of the loom and just unplugs from the horn mounted at the middle of the core support
- It's the same on the other side, unplug headlight, release two clips, remove ground
Before we pull all that out, we need to dig in a bit further to free the loom from behind the oil cooler so we'll move on to a few other things that need to come off anyway
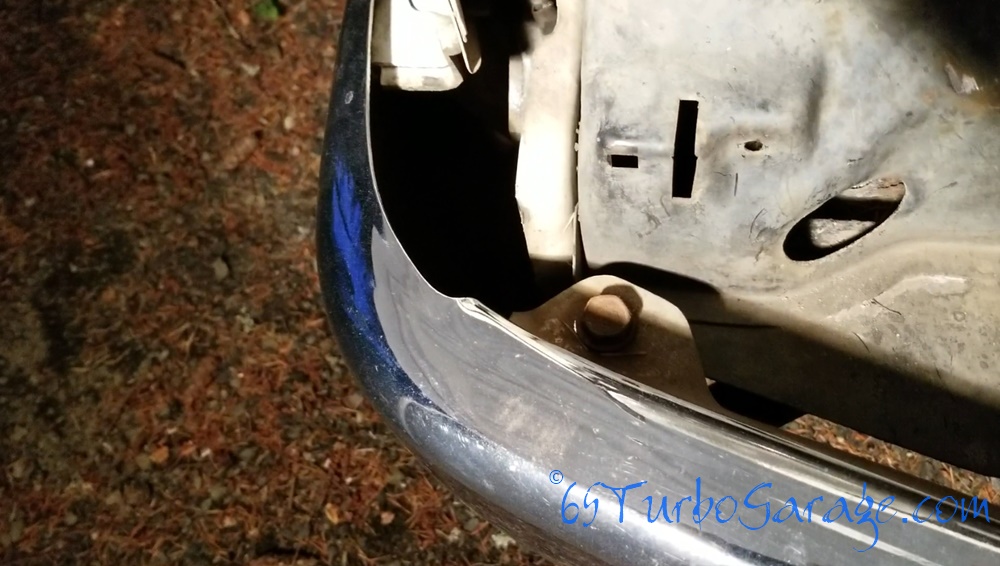
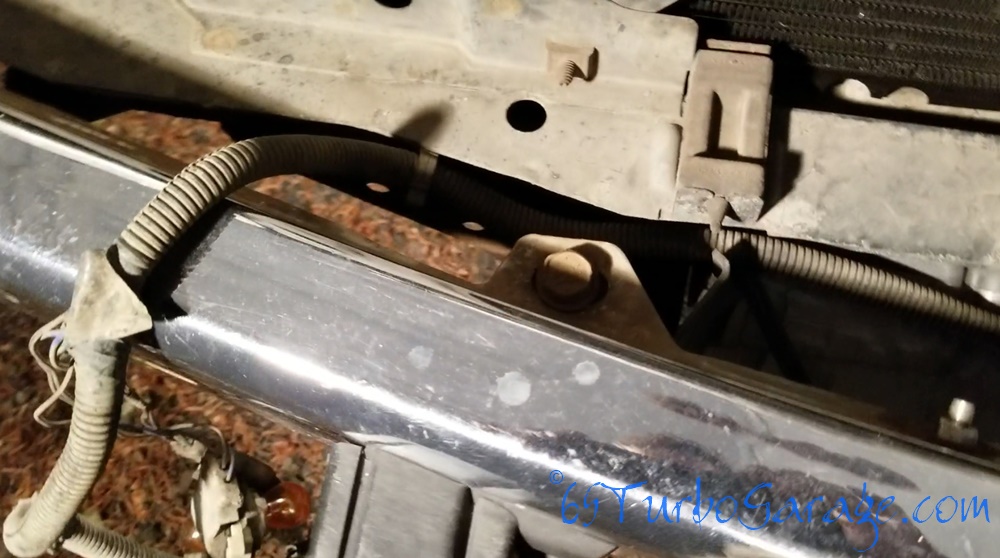
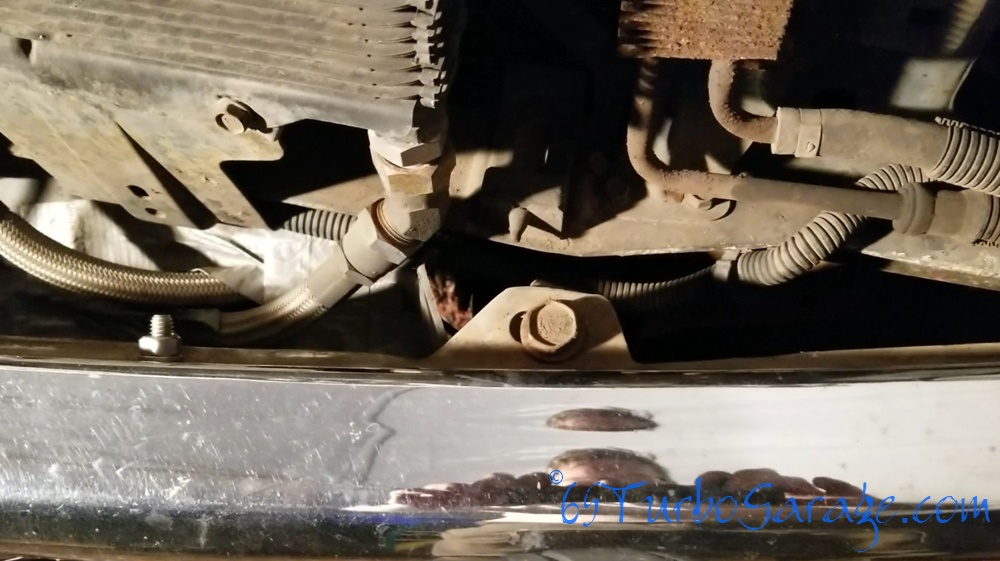
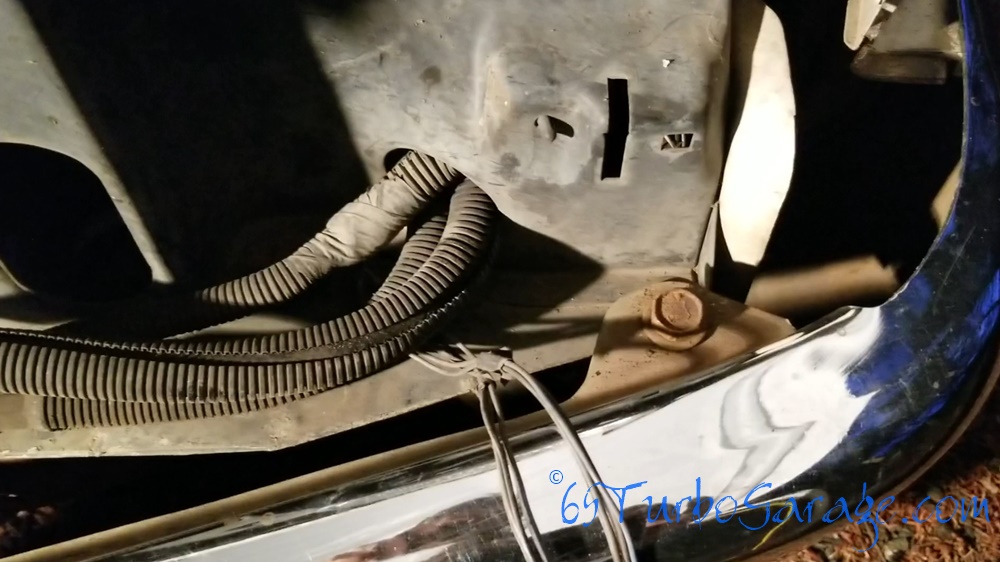
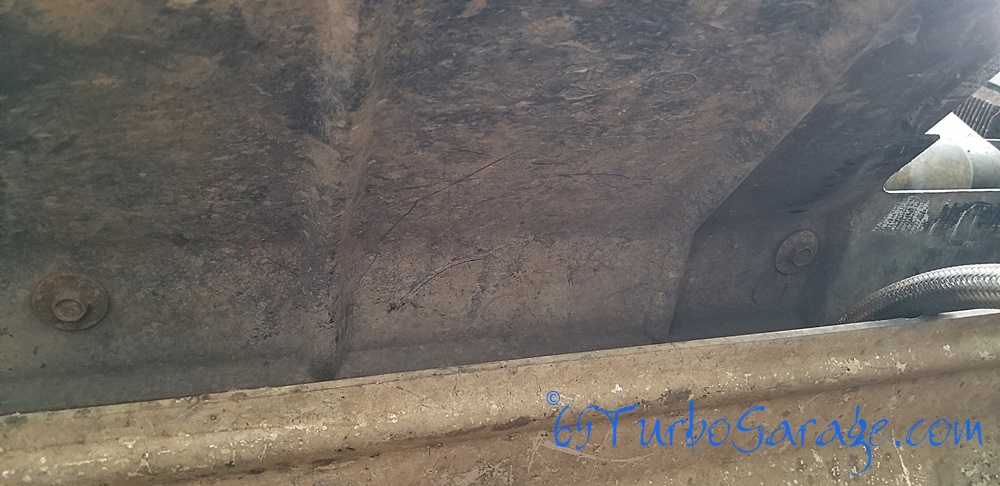
- To make it easier to get to the oil cooler, we can pull the bumper off. That's done by just removing the four bolts on the top and four bolts on the bottom. There's likely some rust involved here so try to have them soaked overnight with Kroil and use a big breaker bar. Worst case scenario is breaking or drilling out the bolts so be prepared for that
The bolts on the bottom are directly below the ones on the top
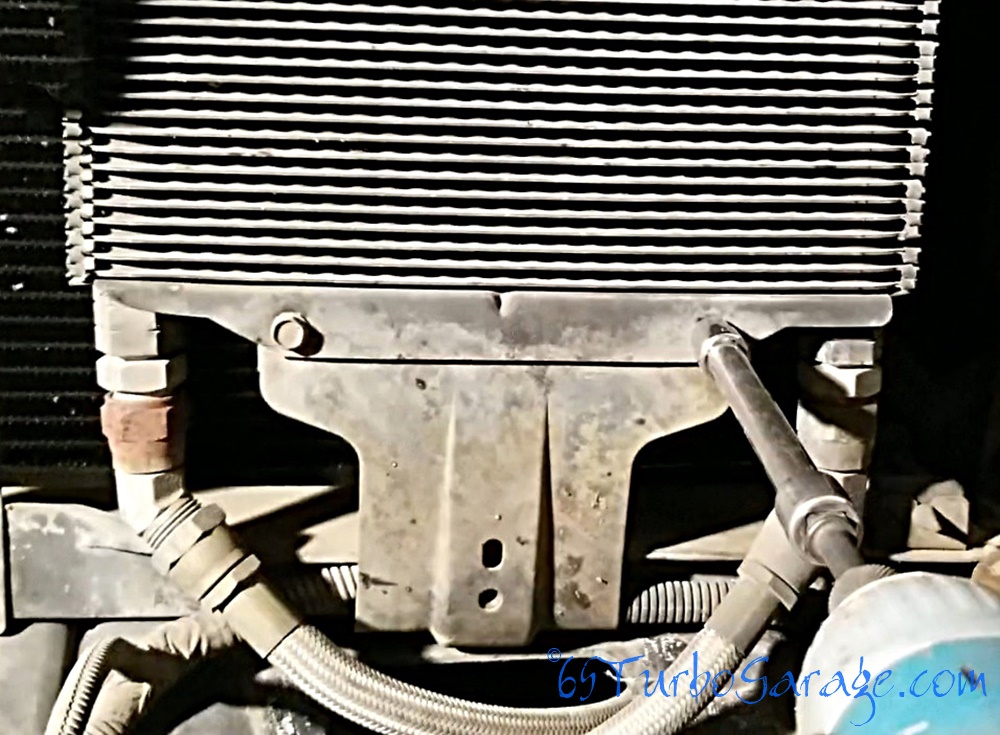
- If you still have the front air dam on, you'll want to remove the four 10mm bolts to pull it free but to do that, first remove the four 10mm screws holding the oil cooler to its mount to give you room to work
- Now remove the four 10mm bolts holding the air dam
- So, the bumper is off and the air dam is off so now you can pull the oil cooler bracket off and release that last clip underneath
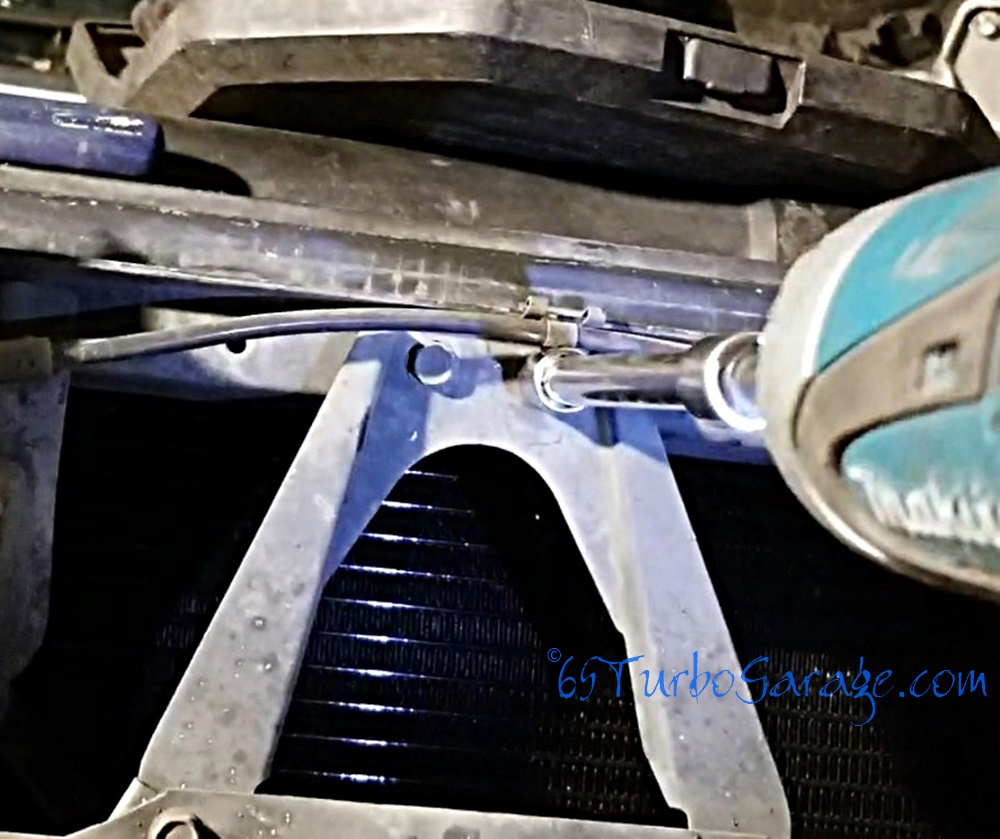
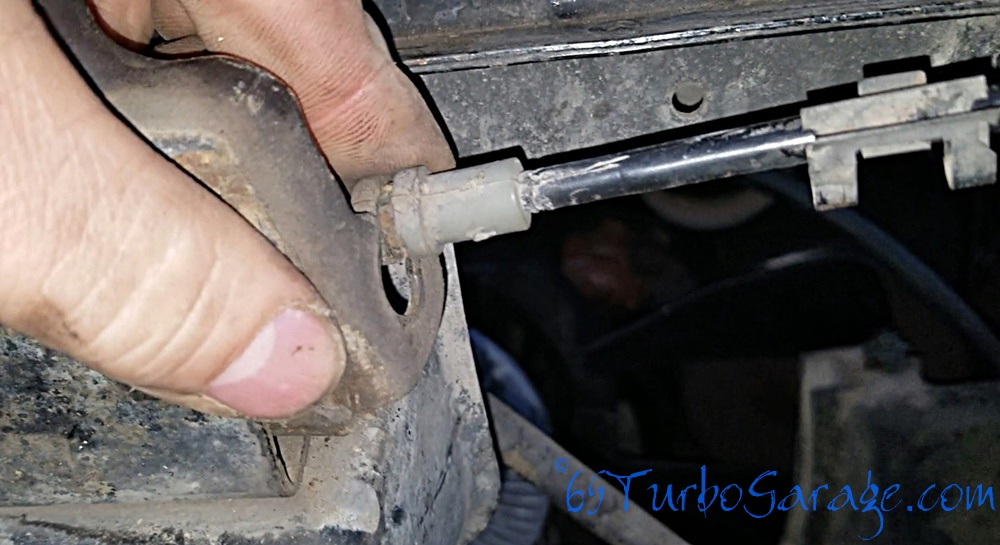
- Next we can remove the hood release cable. Just use a screwdriver to pry it up from the clip the jacket is in and to release the clip to pull the cable out
Now this is where it gets ugly. Literally.
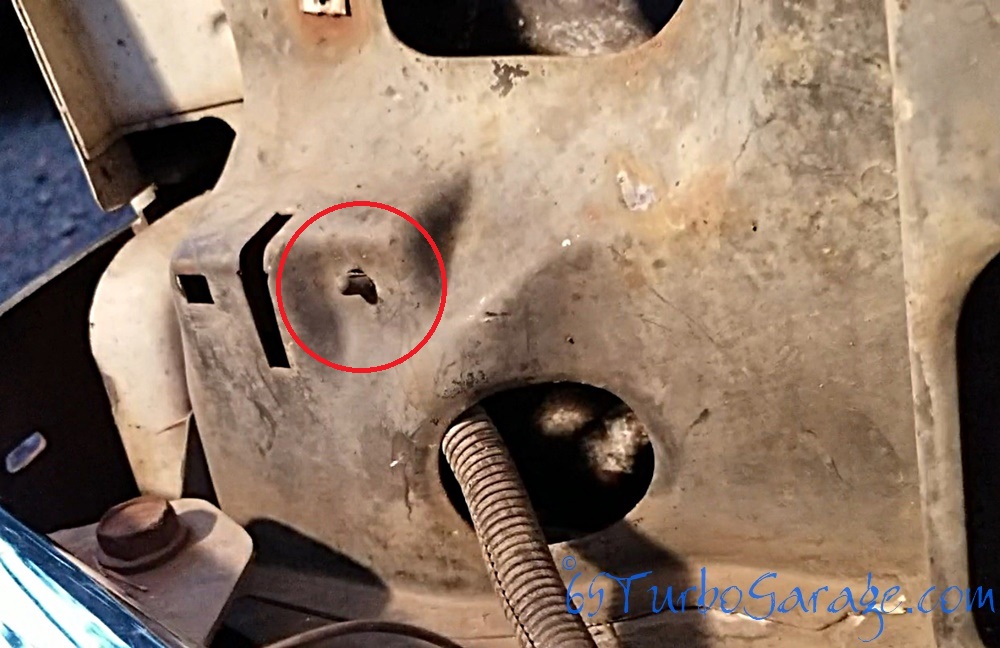
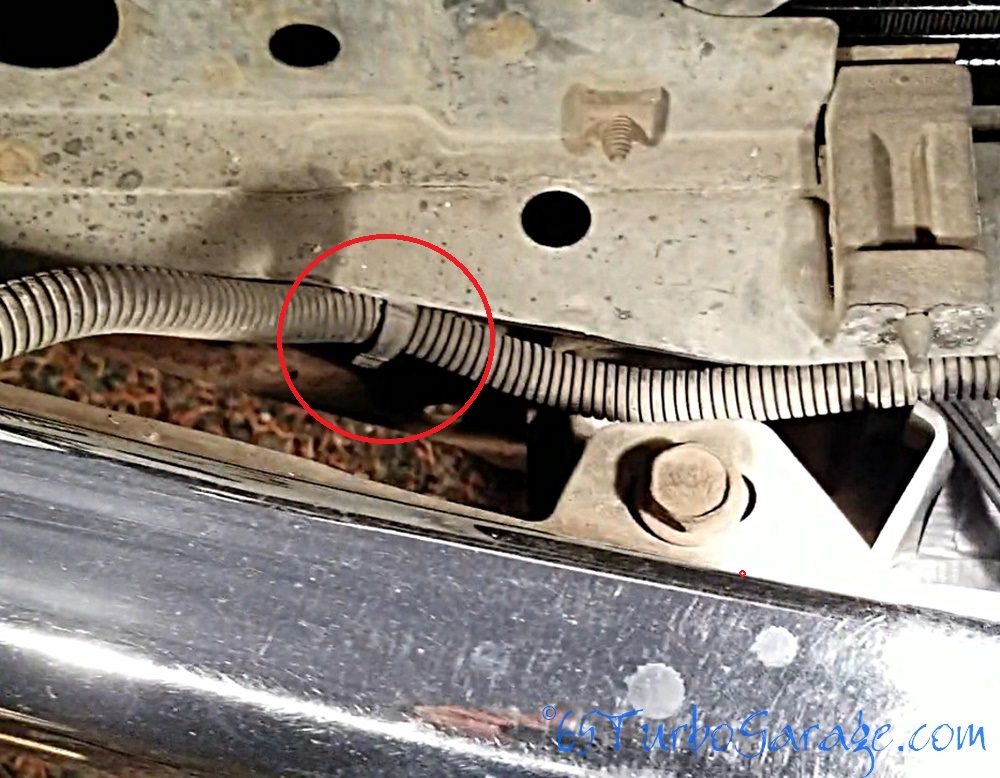
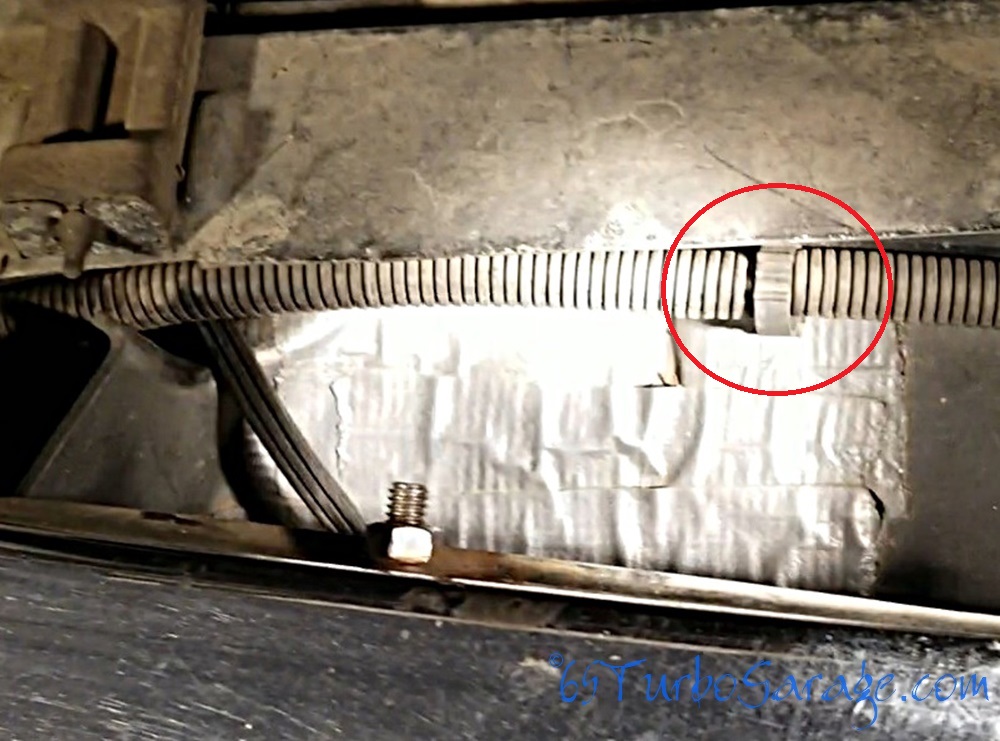
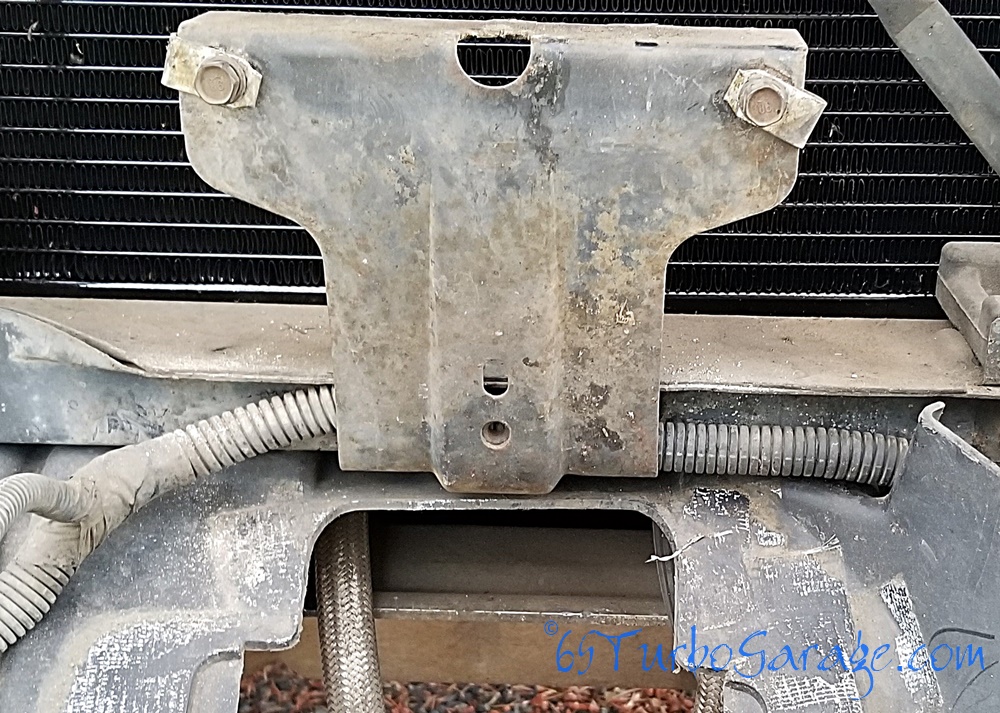
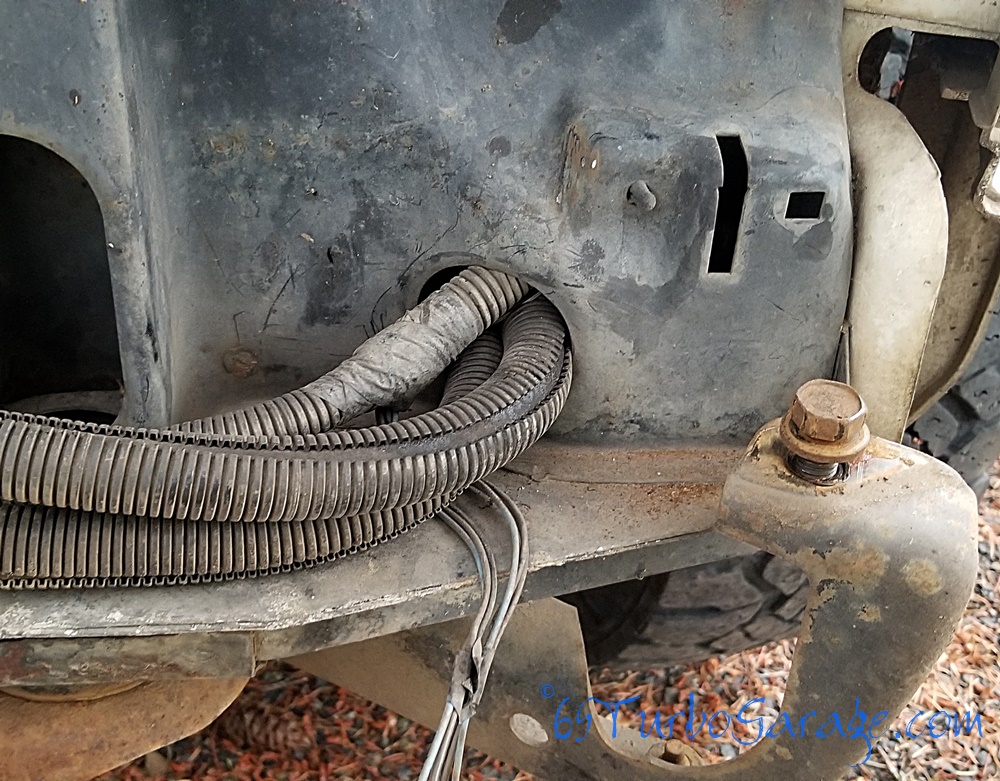
I couldn't see any way to pull the wire loom and the power steering cooler through the hole it the core support and I didn't want to break into the power steering system and have to deal with that later. So I just made the hole a little bigger for it all to fit. Who knows why GM didn't do that to begin with?
Maybe I'm being a big dummy and am missing something obvious so if anyone knows how to do this without cutting things, let me know and I'll change this whole thing. It'll still work out fine after I clean up the cuts and put some edge trim on it.
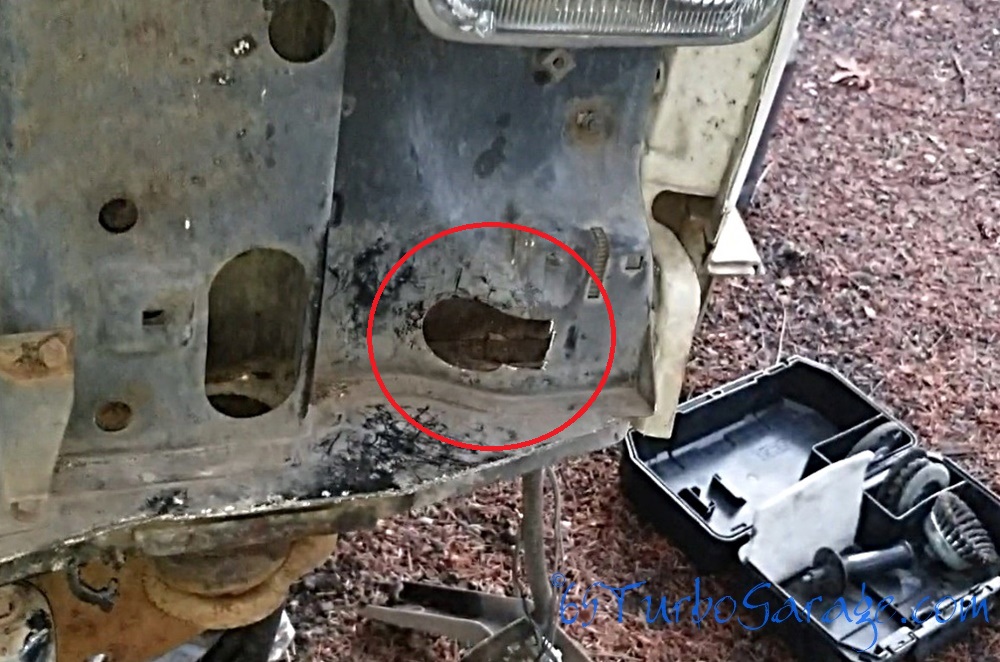 Ugly loom hole
- With all that loose and the hole made bigger, you can pull the loom out.
- Remove the battery tray by removing the three bolts in the inner fender and one nut at the top of the inner fender and then two bolts reached from the front of the radiator support. The last bolt may be a little tough since the threads are kinda sticking out into the weather but it's inside the engine bay on the inside of the front fender.
O.k.! we're at the last part of getting this core support out and that is to remove the radiator itself and you can see how that is done on my radiator upgrade page.
Finally, we are ready to release the support and pull it free.
So, you have removed:
- Bumper
- Passenger side battery tray (for clearance)
- Hood release cable
- Lower valance and oil cooler
- Wire loom
You only have four points on either side of the support to release.
- One bolt on the top
- Two on the sides
- One nut at the rubber support on the bottom
That last one you'll need to soak it a bit in Kroil since it's out in the weather and road salt and then use an 8mm wrench to hold the stud while using an 18mm wrench on the nut itself.
Next, repeat by removing the same points on the drivers side and she's ready to pull free!
Two Tips On Pulling The Core Support Free
Remove the two outer bumper supports and loosen your fan on the fan clutch. That way the core support won't catch on the bumper supports and the fan won't get caught on the lower fan shroud.
That's it! Now we're ready to move ahead to pulling this broke old motor out!
